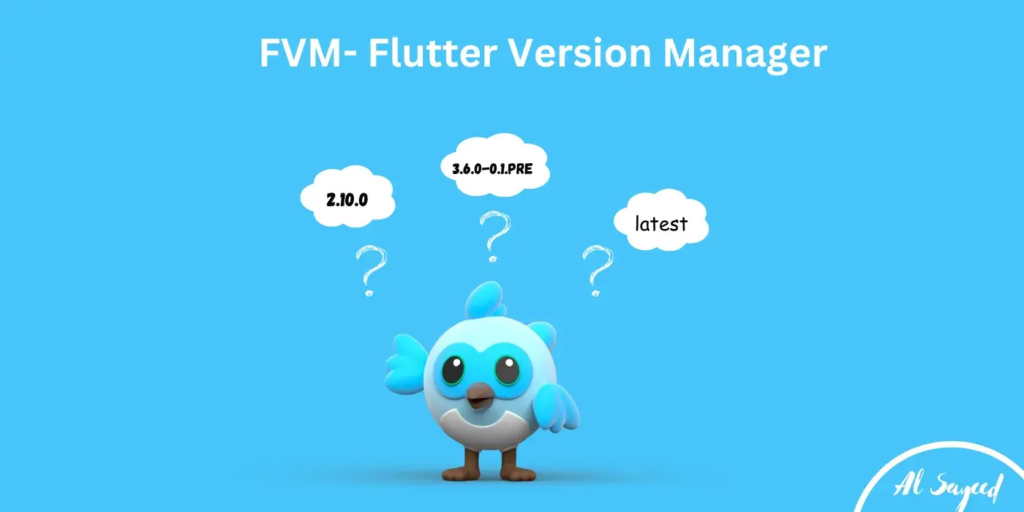
Mastering Flutter with FVM: Your Version Manager for Flutter Projects
Introduction
Flutter is one of the most popular frameworks for building cross-platform mobile applications. With a single codebase, developers can create apps for Android, iOS, web, and desktop.
However, managing different Flutter versions across multiple projects can become difficult. One project may require an older version, while another needs the latest update. If you rely on a single global Flutter installation, this can lead to conflicts and unexpected errors.
This is where FVM (Flutter Version Manager) becomes extremely useful. It allows you to manage different Flutter SDK versions for different projects, all on the same system.
What is FVM?
FVM (Flutter Version Manager) is a tool that helps developers install and manage multiple Flutter SDK versions on one machine.
Instead of using only one global Flutter version for all projects, FVM allows you to:
- Install multiple Flutter versions on your system
- Assign a specific Flutter version to each project
- Lock that version so everyone on the team uses the same one
This approach ensures that your app builds remain stable and prevents problems caused by version mismatches.
Why Should You Use FVM?
1. Project Consistency
With FVM, each project can use its own Flutter version.
For example, if Project A uses Flutter 3.10 and Project B uses Flutter 3.13, both can run smoothly without interfering with each other. This prevents unexpected bugs caused by different team members using different SDK versions.
2. Easy Version Switching
Switching Flutter versions is very simple with FVM.
Instead of uninstalling and reinstalling Flutter, you just run:
fvm use <version>
3. Team-Friendly
FVM creates a configuration file that locks the Flutter version for the project.
When team members clone the repository and run FVM, they automatically use the correct version.
This helps:
- Everyone uses the same SDK version
- No “it works on my machine” issues
- More reliable collaboration
4. IDE Integration
FVM works smoothly with popular development environments like:
- VS Code
- Android Studio
You can configure your IDE to use the FVM-managed Flutter SDK for each project.
How to Get Started with FVM
Step 1: Install FVM
dart pub global activate fvm
brew tap leoafarias/fvm
brew install fvm
Step 2: Install a Specific Flutter Version
fvm install 3.13.0
Step 3: Set the Flutter Version for Your Project
fvm use 3.13.0 --force
This will:
- Create an
.fvmfolder in your project - Link the selected Flutter SDK version
- Lock the version for that project
Step 4: Run Flutter Commands Using FVM
flutter run
fvm flutter run
This makes sure the command uses the correct Flutter version assigned to your project.
You can also configure your IDE to automatically use the FVM-managed SDK path, so you don’t have to type fvm every time.
Pro Tips for Using FVM
1. Set a Global Default Version
fvm use <version>
2. CI/CD Integration
FVM can be integrated into your CI/CD pipeline.
This helps:
- Your builds always use the correct Flutter version
- Development, staging, and production environments stay consistent
- Automated deployments remain stable
It reduces the risk of build failures caused by version differences.
3. Safe Migration Strategy
When upgrading Flutter, avoid switching immediately in production projects.
- Install the new version
- Test your project with it
- Switch only after verification
This allows safe experimentation without breaking stable projects.
Best Practices
1. Always commit FVM configuration files to version control
Include the FVM config files in your repository so everyone on the team automatically uses the same Flutter version. This keeps the development environment consistent.
2. Do not rely on global Flutter installations for team projects
Avoid using a globally installed Flutter version, as it may differ across team members’ systems. FVM helps the project always run on the correct version.
3. Document the Flutter version requirement in your README
Clearly mention the required Flutter version in your README so new developers can set up the project correctly without confusion.
4. Test upgrades in a separate branch before switching versions
Before upgrading Flutter, test the new version in a separate branch. Once everything works properly, you can safely switch to it.
Conclusion
FVM is an essential tool for Flutter developers working on multiple projects or within a team environment.
It makes sure:
- Version consistency
- Simplified SDK management
- Smooth collaboration
- Safer Flutter upgrades
By adopting FVM, you reduce version-related issues and focus more on building high-quality Flutter applications.
– Krishnkant Arjariya
