CI / CD in Mobile App Development and Deployment with GitHub Actions
When you start working on real-world mobile applications, one thing becomes clear very quickly: manual builds and deployments don’t scale.
Building locally, fixing last-minute issues, uploading builds manually, and hoping nothing breaks is not a reliable workflow, especially when multiple developers are involved.
This is where CI/CD (Continuous Integration and Continuous Delivery) becomes a game-changer.
In this article, I’ll show you how I implemented CI/CD for a Flutter app using GitHub Actions, what I learned during the process, and how I successfully pushed an Android build directly to Google Play Internal Testing.
This setup is practical, production-tested, and something I personally use.
What Is CI/CD?
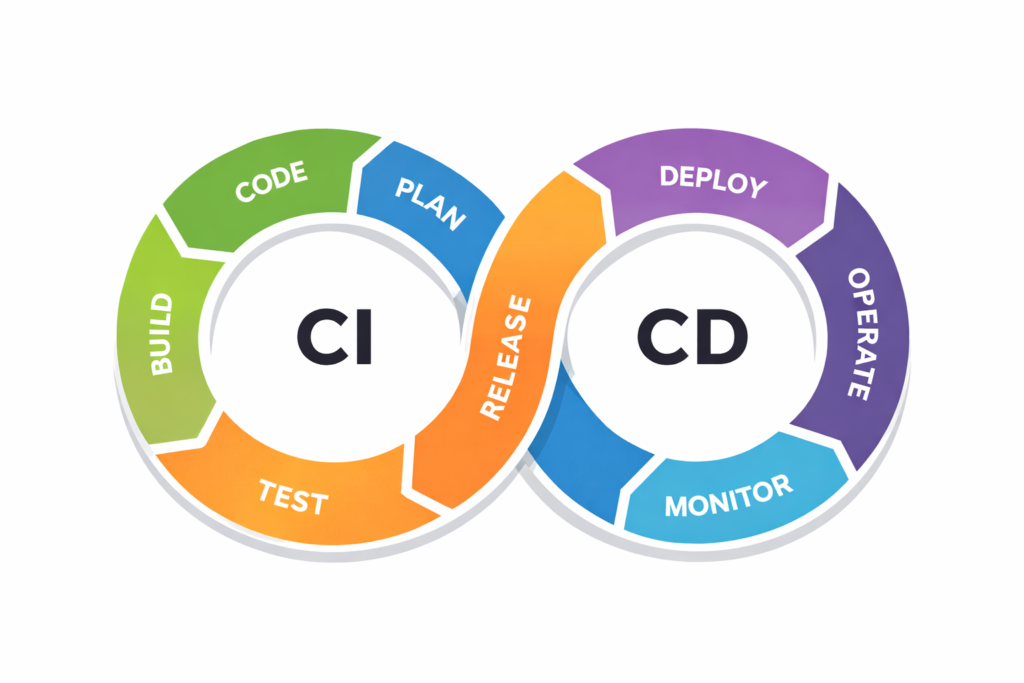
CI/CD is a development practice that automates the process of:
- Building the app
- Analyzing code
- Running tests
- Generating release builds
- Deploying those builds to testing or production environments
Every code change should be tested, validated, and ready for release without manual effort.
Why CI/CD Matters in App Development
Before CI/CD, most teams relied heavily on manual steps:
- Someone builds the app locally
- Someone uploads it to the Play Store or TestFlight
- Someone forgets to run tests
- Someone uploads the wrong build
CI/CD helps eliminate these issues by:
- Reducing human error
- Speeding up release cycles
- Making deployments predictable and repeatable
- Ensuring every build is consistent and production-ready
Tools Used in This Setup
Below are the stacks we worked with:
- Version Control: Git + GitHub
- CI/CD Platform: GitHub Actions (mostly free)
- Build Tool: Flutter build workflows
- Testing: Unit & widget tests
- Deployment:
- Google Play Console
- Service Account JSON
- GitHub Secrets
- Optional: Fastlane (recommended later)
Things to Fix Before Adding CI/CD
- The codebase was clean and readable
- No lint errors existed
- No
print()statements were left in production code (UsedebugPrint()orlog()instead) - Deprecated APIs (like withOpacity) were removed
- File names followed Flutter standard.
- ❌ customMaterialLocalizationsDelegate.dart
- ✅ custom_material_localizations_delegate.dart
CI Pipeline Setup (GitHub Actions)
The first step was setting up Continuous Integration.
Create a .github/workflows folder in the project root and add a file named:
flutter-ci.yml
Basic CI Workflow
name: Flutter CI

on:
  push:
    branches:
      - main
      - dev
  pull_request:
    branches:
      - main
      - dev

jobs:
  build:
    runs-on: ubuntu-latest
    steps:
      - name: Checkout code
        uses: actions/checkout@v3
      - name: Setup Flutter
        uses: subosito/flutter-action@v2
        with:
          flutter-version: '3.35.2'
      - name: Install Dependencies
        run: flutter pub get
      - name: Analyze Code
        run: flutter analyze
      - name: Run Tests
        run: flutter test
      - name: Build APK (dummy build)
        run: flutter build apk --release
What This Pipeline Does
- Runs automatically on every push or PR to main or dev
- Uses GitHub’s servers (not local machines)
- Installs Flutter
- Fetches dependencies
- Analyzes code
- Runs tests
- Confirms the app can be built successfully
- If any step fails, the pipeline fails, and the code doesn’t move forward.
Moving from CI to CD (Automated Deployment)
CD (Continuous Delivery) takes things one step further.
After CI passes:
- The app is signed
- A release build is generated
- The build is uploaded automatically to Google Play
- No downloading, no manual uploads, no mistakes.
What CD Requires Before Setup
Before enabling CD, make sure you have:
- App created in Google Play Console
- Package name finalized
- Signing keystore ready
- Service Account JSON created
- Secrets added to GitHub
- A working CI pipeline
Uploading Android Builds to Google Play (Internal Testing)
After configuring Google Play API access and adding all required secrets, I extended my workflow to build and upload an AAB automatically.
CI/CD Workflow (Release to Internal Testing)
name: Flutter CI/CD
on:
  push:
    branches:
      - main

jobs:
  build:
    runs-on: ubuntu-latest
    steps:
      - name: Checkout code
        uses: actions/checkout@v4
      - name: Setup Flutter
        uses: subosito/flutter-action@v2
        with:
          flutter-version: '3.35.2'
      - name: Prepare Keystore
        run: |
          echo "${{ secrets.KEYSTORE_BASE64 }}" | base64 --decode >
          android/app/upload-keystore.jks
      - name: Install Dependencies
        run: flutter pub get
      - name: Analyze Code
        run: flutter analyze || true
      - name: Run Tests
        run: flutter test || true
      - name: Build AAB (Release)
        run: flutter build appbundle --release
      - name: Upload to Google Play (Internal Testing)
        uses: r0adkll/upload-google-play@v1
        with:
          serviceAccountJsonPlainText: ${{ secrets.PLAYSTORE_SERVICE_ACCOUNT }}
          packageName: ${{ secrets.PACKAGE_NAME }}
          releaseFiles: build/app/outputs/bundle/release/app-release.aab
          track: internal
          status: completed
And yes, this successfully pushed a build to Internal Testing.
Where CI/CD Fits in the Workflow
The final flow looks like this:
Developer pushes code → PR to main → CI runs → CI passes → merge → CD triggers → Build signed → Uploaded to Play Store
No manual intervention needed.
Final Thoughts
CI/CD is a basic requirement for modern app development.
Once set up:
- Releases become faster
- Errors reduce significantly
- Teams gain confidence
- Developers focus more on features, not deployments
- If you’re building Flutter apps and still deploying manually, CI/CD is the next upgrade your workflow needs.
– Tushar Nimbore
